

Skip to content
Nelcota
PT : Ler em português

A whole backend. One binary. Your VPS.

  • REST API

    GET /rest/v1/notes

    Generated from your schema

  • Sign-in

    POST /auth/v1/token

    Password, magic link, OAuth

  • Files

    /storage/v1/object

    Disk or S3, with policies

  • Webhooks

    x-nelcota-signature

    Signed, retried, recorded

  • Admin panel

    /admin/

    Data, users and SQL

  • PostgreSQL

    owner = auth.uid()

    Decides who sees what

A REST API generated from your schema, sign-in, files, webhooks and an admin panel, running on your own PostgreSQL. No account, no per-request bill, no dozen services to babysit.

REST API

You create the table. The API is ready. Zero endpoints.

Filters, relations, RPC and an OpenAPI document come straight from the schema. Who can read each row is a PostgreSQL rule, not an if someone forgot in a controller.

ADMIN PANEL

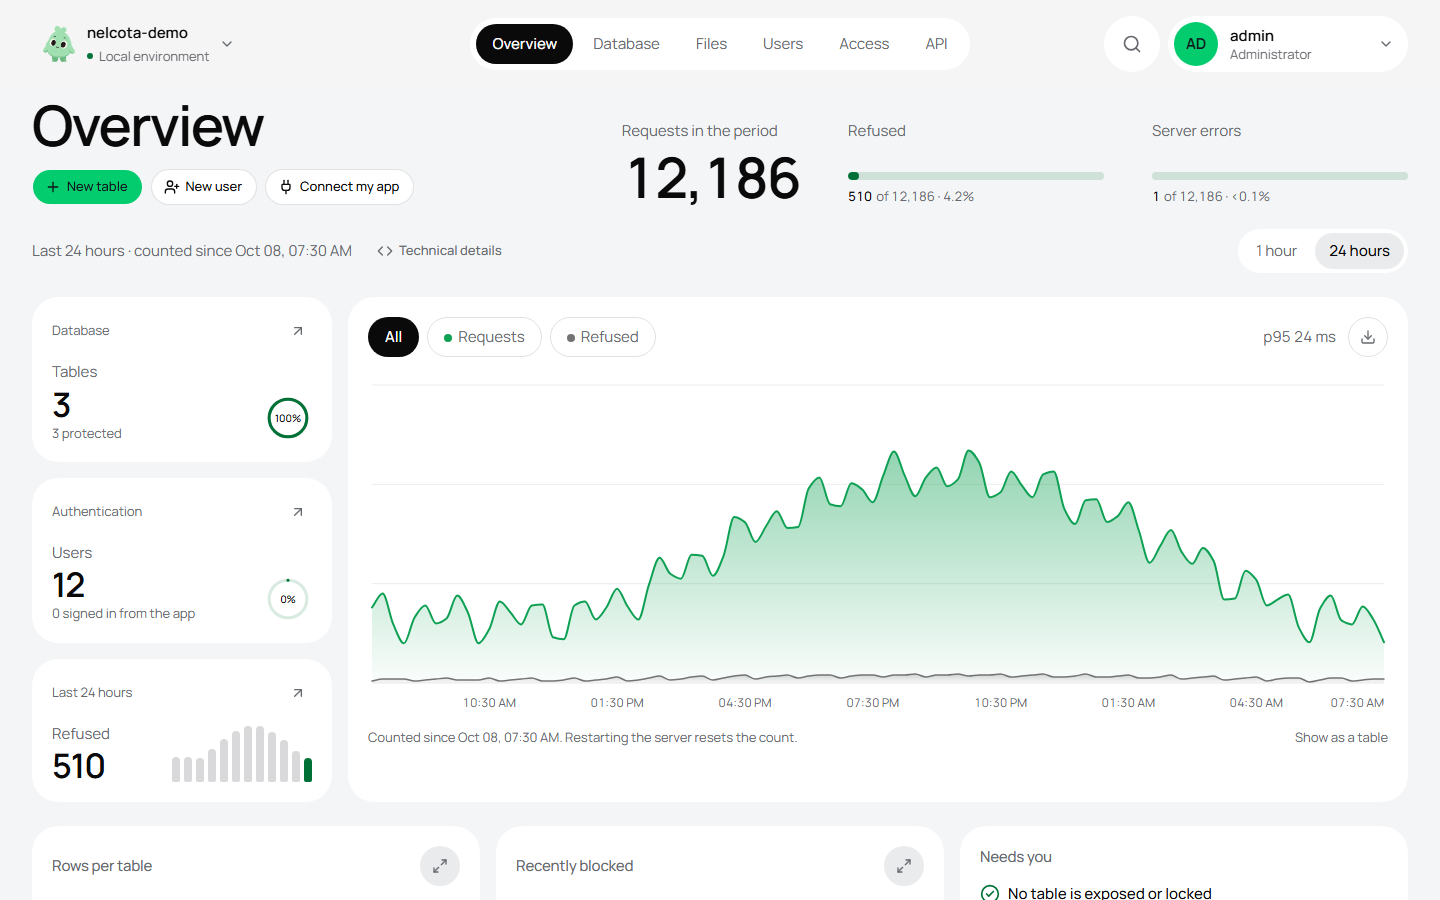
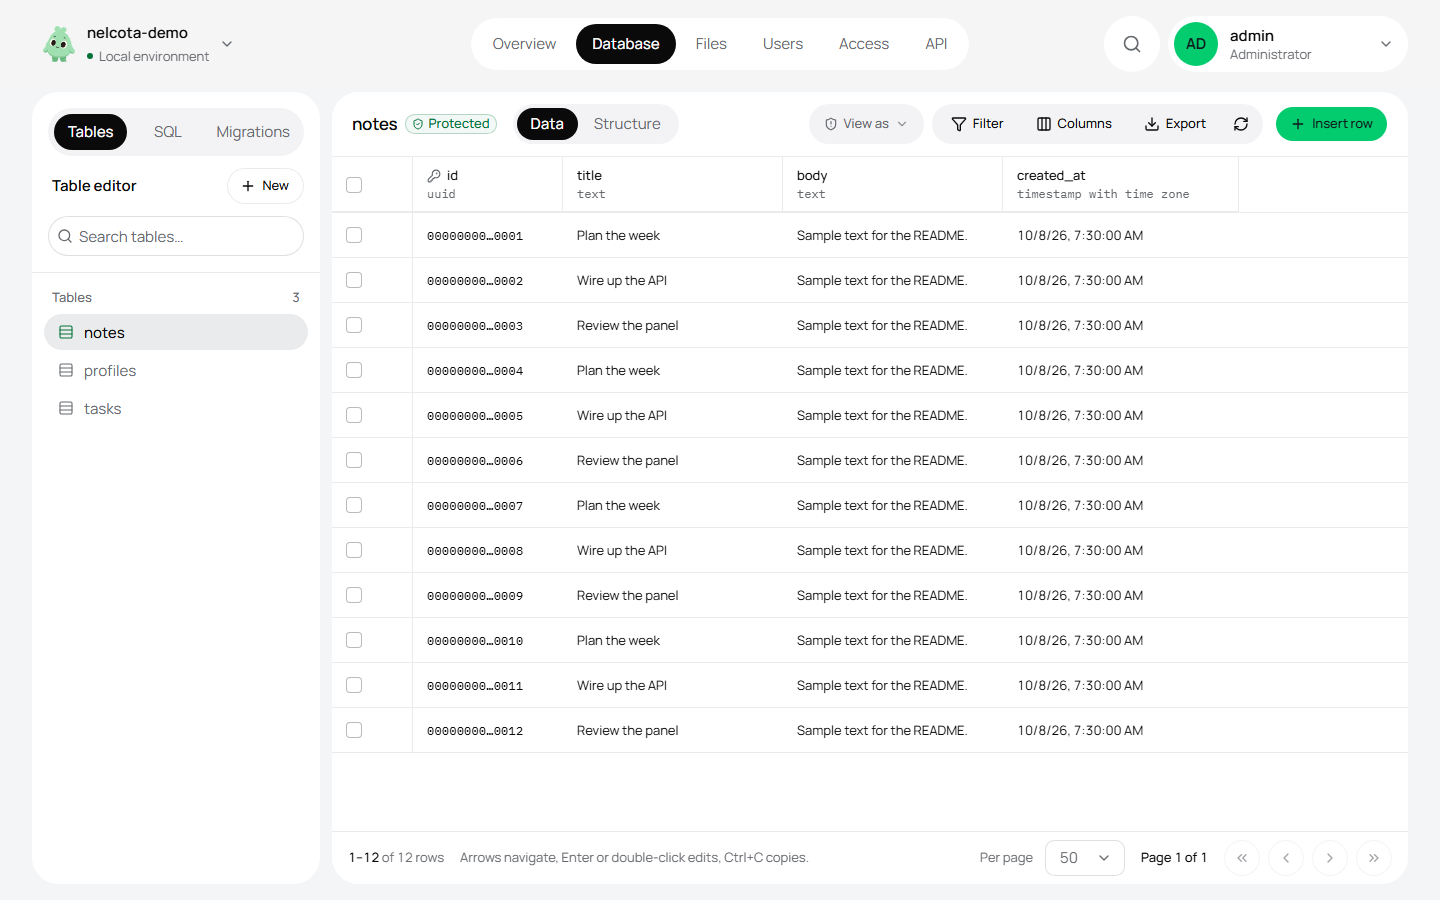
Admin panel included. Nothing else to install.

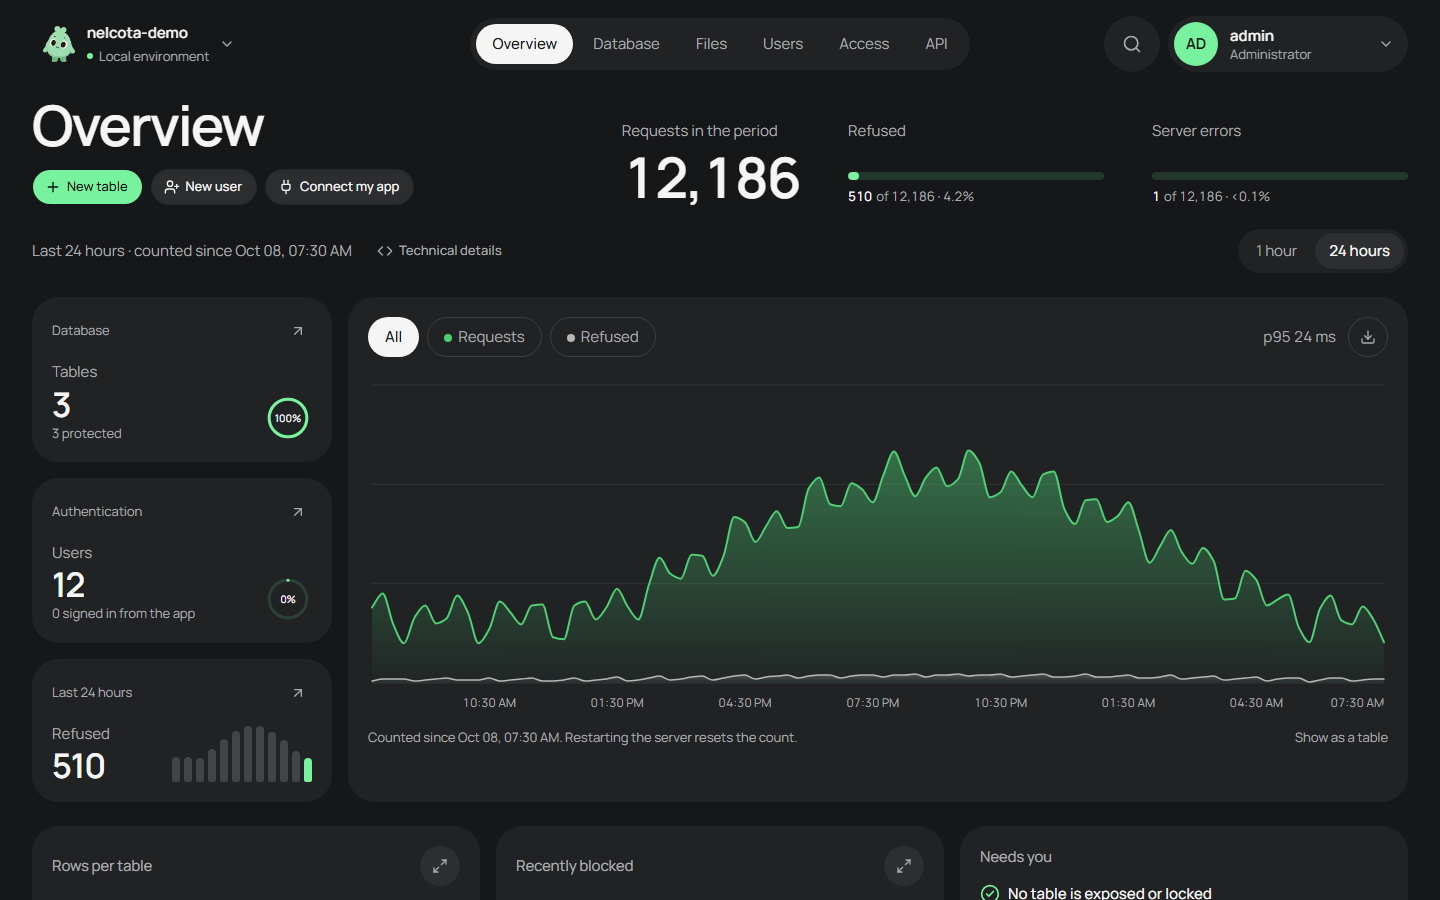
  • Nelcota admin panel overview with API traffic charts, table and user counts, and setup steps Nelcota admin panel overview with API traffic charts, table and user counts, and setup steps
    Overview
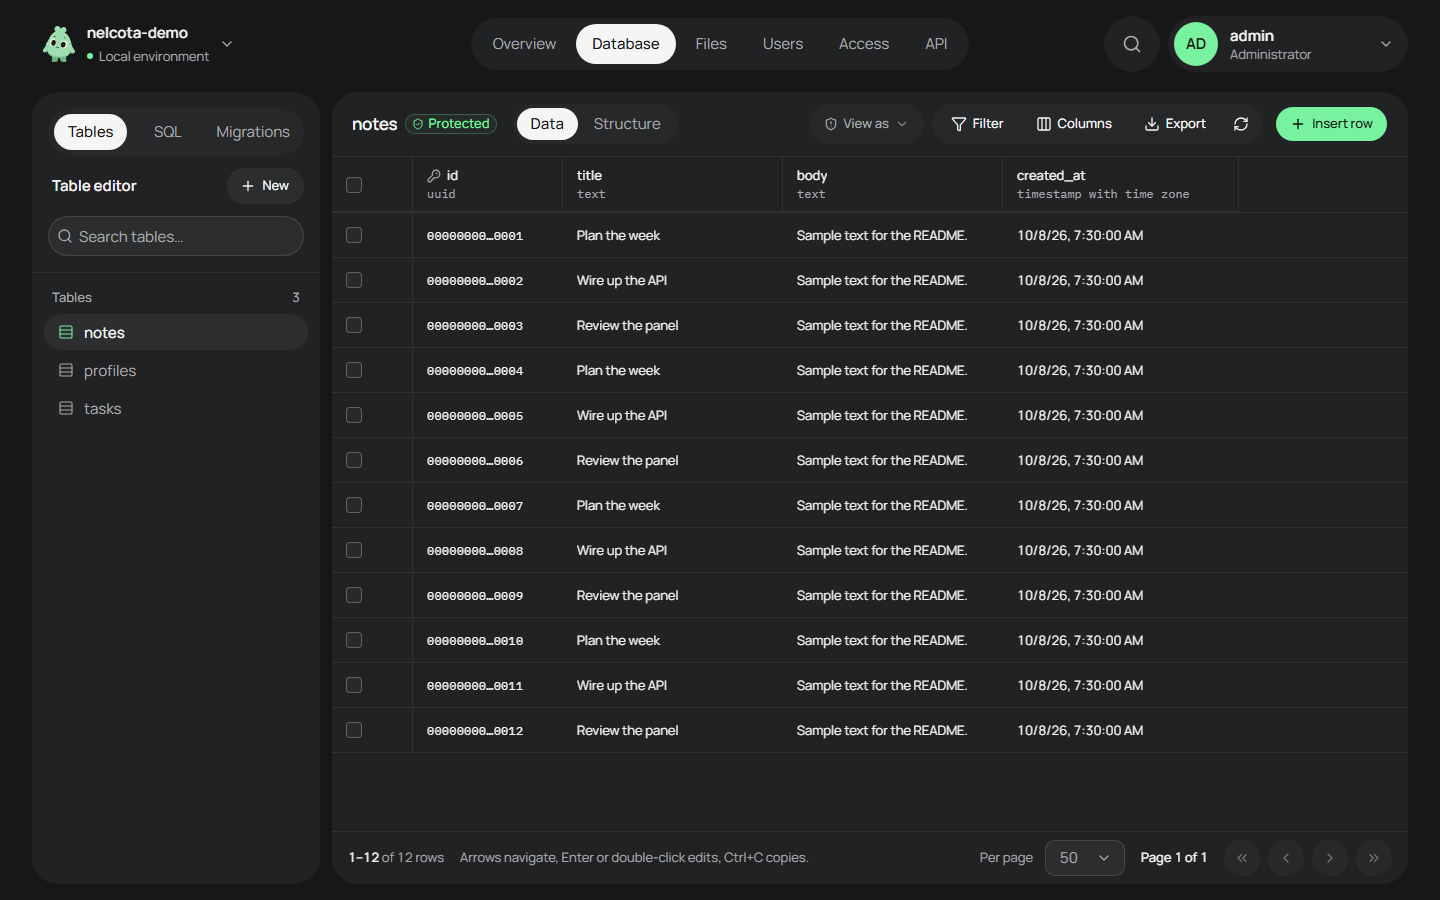
  • Nelcota table editor showing the rows of a notes table protected by RLS Nelcota table editor showing the rows of a notes table protected by RLS
    Tables
Panel guide

Nothing reinvented that didn’t need to be.

Rust, tokio, axum and rustls in front, PostgreSQL behind. Parts already carrying production traffic all over the world.
How it works

A weekend project or several apps on one VPS: each one gets an API, sign-in, files and webhooks and PostgreSQL decides who sees each row.

SECURE BY DEFAULT

Locked down before your first line.

No hardening checklist to remember later. All of this is on from the first nelcota dev.

Still 0.x: the security notes list what is not done yet.

Security notes
  • Argon2id + rate limit

    Hashed passwords, throttled logins, and the same answer for an unknown email and a wrong password.

  • 15-minute tokens

    Ed25519 access tokens. Refresh tokens rotate, and a replayed one revokes the session.

  • RLS on every request

    Role and claims live in the transaction. A bad token never becomes anon.

  • Webhooks stay outside

    HTTPS only. Private and cloud metadata addresses are blocked.

  • Sandboxed files

    Files served by Nelcota carry nosniff and a CSP sandbox. On S3, the provider serves them from its own domain.

  • No unsafe Rust

    unsafe is forbidden, cargo-deny checks dependencies, 500+ automated tests.

MEASURED SPEED

1,965 req/s on 128 MiB of RAM.

Indexed reads with the app capped at 1 CPU and 128 MiB, on the release candidate on main. That leaves the memory to PostgreSQL, which does the heavy lifting.

How it was measured
  • 1,965 req/s indexed reads, app on 1 CPU and 128 MiB
  • 45 MiB peak app memory under load
  • 0 errors in 1,079,703 requests
  • 4.4 ms median latency at 600 req/s

Your code, your data, your server.

Apache-2.0. No account, no plan, no surprise invoice. And if you ever leave, your data is already in standard PostgreSQL.

EVERYTHING INCLUDED

Everything an app needs. Already inside.

  • Files

    Disk or S3, public or private. Who downloads what is a SQL policy, and temporary links expire on their own.

    Storage
  • Webhooks

    Your server gets the changes you choose, signed, with 6 attempts if it is down.

    Webhooks
  • Admin panel

    Tables, users, files, policies and SQL at /admin/, with no extra service to run.

    Panel guide

GET STARTED

Zero to API in three steps.

You need Linux with Docker. On macOS and Windows, build from source.

Full quickstart
  1. 1 Install and start

    One command installs the CLI. nelcota dev starts PostgreSQL in Docker and the API on port 8000.

    Terminal
    # Install the nelcota CLI
    curl -fsSL https://raw.githubusercontent.com/Nelcota/Nelcota/main/scripts/install.sh \
      | NELCOTA_SKIP_DOCKER=1 sh
    
    # Create an empty folder for your app
    mkdir notes-app && cd notes-app
    
    # Start PostgreSQL and the API, and leave it running
    nelcota dev
  2. 2 Write the schema

    One migration with the table and its access rules. Apply it and generate types.

    Terminal second window
    # Write the migration: the notes table and its access rules
    mkdir -p migrations src
    cat > migrations/V1__notes.sql <<'SQL'
    -- The table: each note belongs to the user who wrote it
    CREATE TABLE public.notes (
        id    bigint GENERATED ALWAYS AS IDENTITY PRIMARY KEY,
        owner uuid   NOT NULL DEFAULT auth.uid(),
        body  text   NOT NULL
    );
    
    -- Turn on row-level security for the table
    ALTER TABLE public.notes ENABLE ROW LEVEL SECURITY;
    
    -- Signed-in users may read and write the table...
    GRANT SELECT, INSERT, UPDATE, DELETE
        ON public.notes
        TO authenticated;
    
    -- ...but only the rows they own
    CREATE POLICY notes_owner
        ON public.notes
        FOR ALL
        TO authenticated
        USING      (owner = auth.uid())
        WITH CHECK (owner = auth.uid());
    
    -- A private bucket: each user writes in their own folder
    INSERT INTO storage.buckets (id, public) VALUES ('files', false);
    
    CREATE POLICY notes_files_owner
        ON storage.objects
        FOR ALL
        TO authenticated
        USING (
            bucket_id = 'files'
            AND (storage.foldername(name))[1] = auth.uid()::text
        )
        WITH CHECK (
            bucket_id = 'files'
            AND (storage.foldername(name))[1] = auth.uid()::text
        );
    SQL
    
    # Apply the migration and generate TypeScript types
    nelcota migrate
    nelcota types -o src/database.ts
  3. 3 Use the API

    Create a user and read the notes with their token. RLS returns only theirs.

    Terminal
    # Create a user and keep their access token
    TOKEN=$(curl -fsS -X POST http://127.0.0.1:8000/auth/v1/signup \
      -H 'content-type: application/json' \
      -d '{"email":"[email protected]","password":"a-development-password"}' \
      | jq -er '.access_token')
    
    # Wait until the API sees the new table
    for attempt in 1 2 3 4 5 6 7 8 9 10; do
      status=$(curl -s -o /dev/null -w '%{http_code}' \
        -H "authorization: Bearer $TOKEN" \
        http://127.0.0.1:8000/rest/v1/notes)
      [ "$status" = 200 ] && break
      sleep 0.2
    done
    [ "$status" = 200 ] || echo 'notes is not ready: check the nelcota dev terminal' >&2
    
    # Insert a note as that user
    curl -fsS -X POST http://127.0.0.1:8000/rest/v1/notes \
      -H "authorization: Bearer $TOKEN" \
      -H 'content-type: application/json' \
      -d '{"body":"My first note"}'
    
    # Read the notes back: RLS returns only theirs
    curl -fsS 'http://127.0.0.1:8000/rest/v1/notes?order=id.desc' \
      -H "authorization: Bearer $TOKEN"
  • TypeScript
  • Rust
  • curl
  • Docker
  • PostgreSQL
  • Linux
  • macOS
  • Windows

Works the way you already work.

SDKs for TypeScript and Rust, plain HTTP for any other language. Runs with Docker or systemd.

OPEN SOURCE

$0 license. Forever.

Apache-2.0. You pay for the server you picked, not for every request your app makes.

  • License

    $0

    forever

    Apache-2.0: use it, change it, ship it.

  • Hosting You choose

    Your server

    The deploy guide fits 2–3 small projects on a 1 GB VPS.

  • Usage

    $0

    per request

    No meter. Your server is the limit, not a plan.

One binary, 128 MiB, Apache-2.0, No lock-in

READ THE DOCS

From the first command to production.

Quickstart, API, auth, storage, deploy, backups and the CLI. In English, with Portuguese translations.

Open the docs

OPEN SOURCE

Like it? Open an issue or send a PR.

Every release, every decision and every bug lives on GitHub, in plain sight.

View on GitHub
Get started